(SPEECH)
[00:00:00.00] [MUSIC PLAYING]
(DESCRIPTION)
[00:00:00.00] Two bikers ride past us on a narrow dirt path. Tall green grass runs along both sides of the path and tall trees stand in the background against a blue sky with white puffy clouds. Logo, L L Bean. Text, Get your Bike Ready to Ride. A man stands in a shop surrounded by bikes and faces us. He wears a dark blue button down shirt with the sleeves rolled up, tan pants, and a baseball hat.
(SPEECH)
[00:00:05.46] Hi. My name is Charles, and I'm a bike mechanic at L.L.Bean in Freeport, Maine. Today, I'm here to talk about a few simple things you can do to make sure your bike is safe to ride.
(DESCRIPTION)
[00:00:15.61] He presses down on one of the tires with his fingers.
(SPEECH)
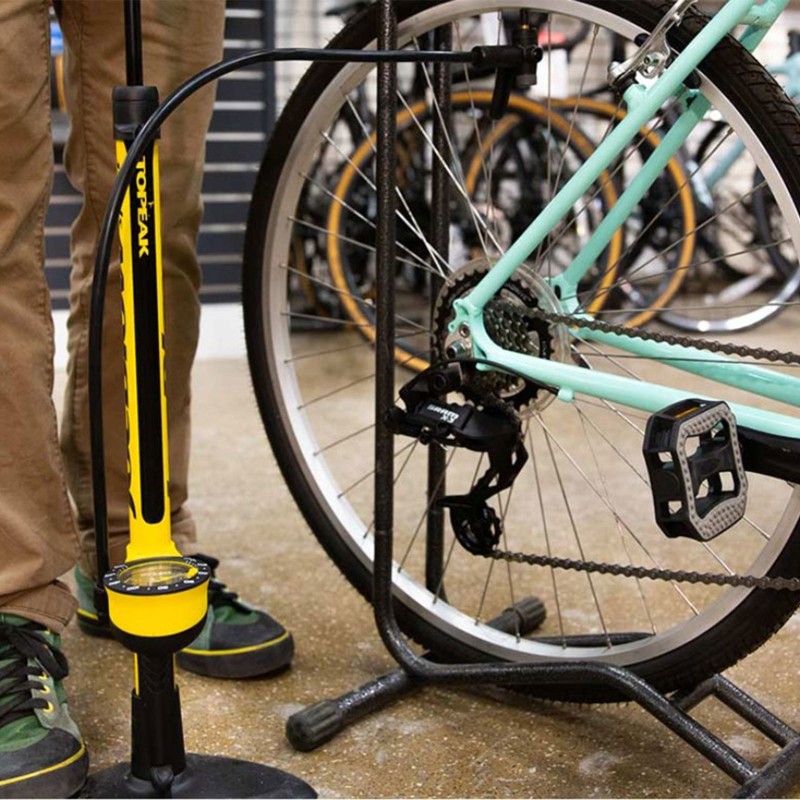
[00:00:15.87] Check your air pressure. All tires tend to lose air pressure if they sit for a while. Check your tires to make sure they aren't soft or flat.
[00:00:24.03] Use a pressure gauge or bike pump to check the pressure in pounds per square inch. The recommended pressure will be printed on the side of the tire.
(DESCRIPTION)
[00:00:31.61] He indicates with his finger where the pressure is listed on the side of the tire. Text, Pressure, 50 - 75 PSI
(SPEECH)
[00:00:31.86] If you need to top them off, here's the right way to use an air pump. First, rotate the wheel so the valve sits at the 12 o'clock position. Then attach the pump head and lock it into place.
[00:00:43.44] Inflate to pressure, and then remove the pump head by pushing it straight down off the valve. Don't wiggle it, or you may damage the valve. While you're there, check your tire for signs of damage or rot. The tread on this tire is fine, but it is the casing that is cracking. Flex the sidewall to see if the cracking is evident. Even an unused tire will develop dry rot over time.
(DESCRIPTION)
[00:01:05.19] He handles the tire, checking both the tread and the sides. He squeezes the sides and a crack is evident, running along the edge of the tread.
(SPEECH)
[00:01:05.57] Next, check your brakes.
(DESCRIPTION)
[00:01:06.76] He approaches a bike and grips the front brake levers.
(SPEECH)
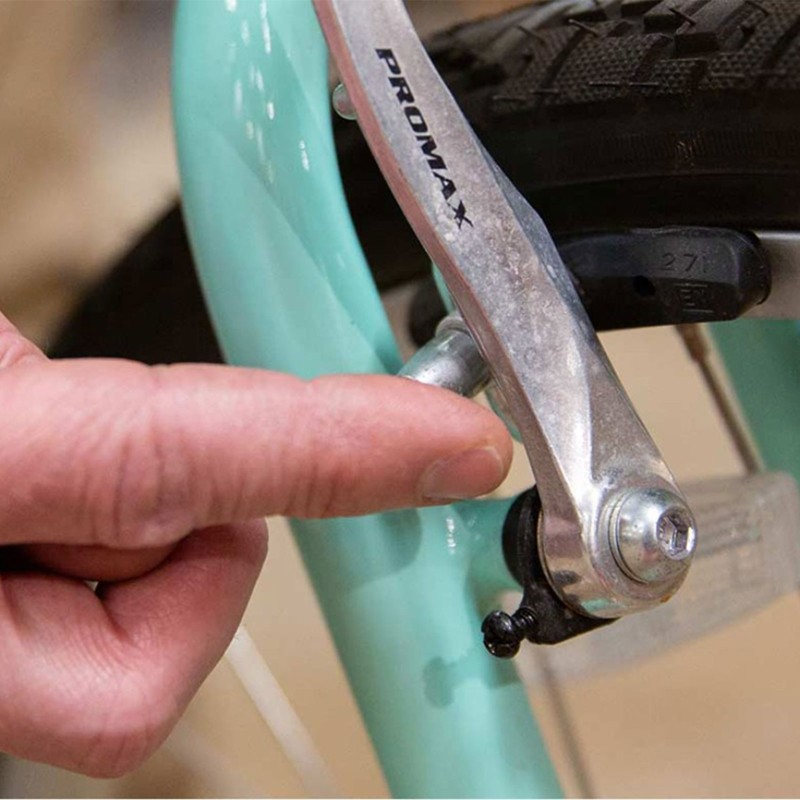
[00:01:07.00] First, check the brake levers and cables to make sure they are tight and properly engage the brake pads to the rim.
(DESCRIPTION)
[00:01:13.98] The brake pads properly close as he engages the brake levers.
(SPEECH)
[00:01:14.17] Next, check the brake pads themselves for wear. If there's less than 1/16 of an inch of pad left or the wear line is no longer visible, install new pads. Here's an example of some warm pads.
(DESCRIPTION)
[00:01:25.47] He holds up two worn down pads.
(SPEECH)
[00:01:25.69] Notice the debris embedded in the pad. This will make noise, wear the rim, and give poor braking.
[00:01:31.78] If your bike has disk brakes, judging the wear can be difficult. There's only three to four millimeters of pad material on new disk pads. And you may have to remove the wheel to see the pad clearly.
(DESCRIPTION)
[00:01:42.82] The pads are gently inspected with a tool.
(SPEECH)
[00:01:43.30] If your brakes are making noise when applied, this is a sign of wear or contaminated pads. Having your disk brakes examined by a bicycle mechanic is recommended.
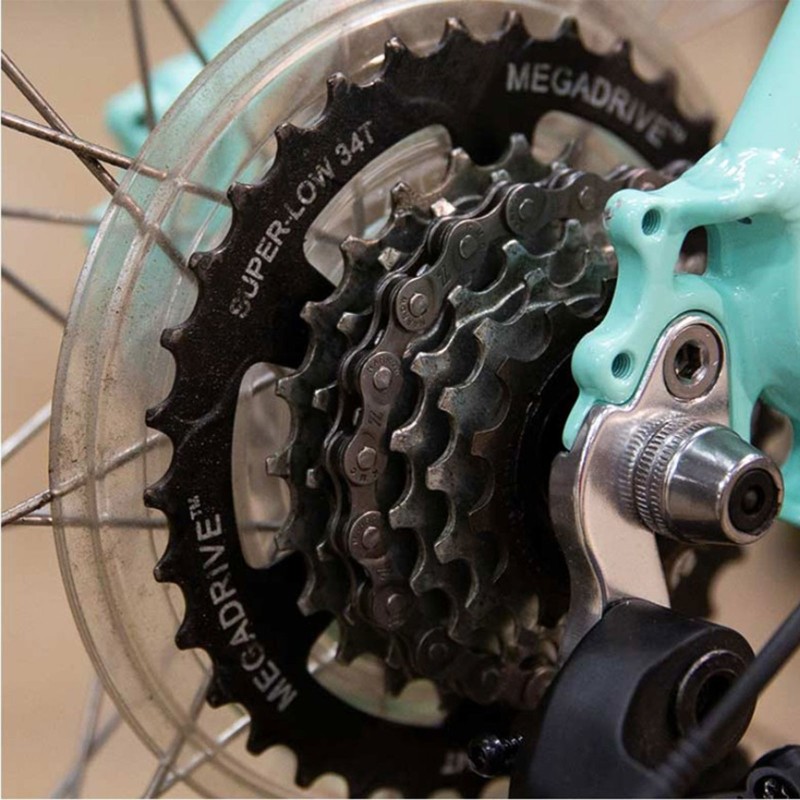
[00:01:53.20] Next, check your chain. Here's a quick way to determine if your chain is worn. Shift to the large chain ring and then pull the chain away from the teeth.
(DESCRIPTION)
[00:02:01.00] He gently tries to pull the chain away.
(SPEECH)
[00:02:01.15] If you can see daylight between the chain and the teeth, it's time to replace it. Keep in mind, the chain and the sprockets in the back wear together. So you may have to replace both.
(DESCRIPTION)
[00:02:11.85] He rotates the pedals counterclockwise while applying degreaser to the chain.
(SPEECH)
[00:02:11.98] Often, all that's needed is to clean or lube your chain. Apply a little citrus degreaser to a rag, hold the rag to the chain, and pedal backwards. Do this several times using clean sections of the rag. Now, apply lube sparingly to the center of the chain, while pedaling backwards. Hold the clean rag to the chain and pedal backwards to remove the excess.
[00:02:32.23] Always use a synthetic bicycle specific lube, such as T-9 or Finish Line Dry. These lubes are lighter and will attract less dirt than a petroleum-based lube. If you use an aerosol lubricant, spray it on a rag first and not directly onto the chain.
[00:02:47.95] Lastly, check your points of contact on the bike. Saddle handlebars and pedals. Warn grips or bar tape affect comfort and your ability to control the bike. Saddles can become firmer over time or even wear unevenly, making you uncomfortable. Pedals can wear to the point that they no longer provide adequate traction, while riding causing your feet to slip off.
(DESCRIPTION)
[00:03:09.35] Charles stands behind a bike.
(SPEECH)
[00:03:09.40] Updating these items can really make the bike feel new again. Now that your bike is ready, it's time to get out and ride.
[00:03:15.76] [MUSIC PLAYING]
(DESCRIPTION)
[00:03:15.76] Two bikers ride past us on a narrow dirt path. Tall green grass runs along both sides of the path and tall trees stand in the background against a blue sky with white puffy clouds. Logo, L L Bean. Text, Be an Outsider. An image shows hikers walking along the top of a mountain. The leader strides, such that neither of her feet are touching the ground. In the background, the large sun sits low in the sky, casting shadows on several mountain tops.
<
Check Your Air Pressure
All tires tend to lose air pressure if they sit for a while. Make sure yours are inflated to the specifications found on the sidewall of the tire.
Also, check the tires for signs of wear and rot. Flex the sidewalls of the tire and inspect closely for cracking. Even an unused tire will develop dry rot over time.
Check Your Breaks
Check the brake levers and cables to make sure they properly apply the brake pads to the rim of the tire so you can safely stop.
Next, check the pads themselves for wear. If there’s less than 1/16th-inch of pad left, you’ll need to install new pads.
If your bike has disc brakes, it’s a bit tougher to figure out they’re worn. If your brakes are making noise when applied, this is a sign of wear or contaminated pads. If there’s any question, have your bike shop check them out.
Check Your Chain
Here is a quick way to determine if your chain is worn: Shift to the large chainring and then pull the chain away from the teeth. If you can see daylight between the chain and the teeth, it’s time to replace it.
Often, all that’s needed is to clean and lube your chain. Apply a little citrus degreaser to a rag. Hold the rag to the chain and pedal backwards. Do this several times using clean sections of the rag. Now apply lube, sparingly, to the center of the chain while pedaling backwards. Hold a clean rag to the chain and pedal backwards to remove the excess. Always use a synthetic, bicycle-specific lube, such as T-9, or Finish Line Dry.
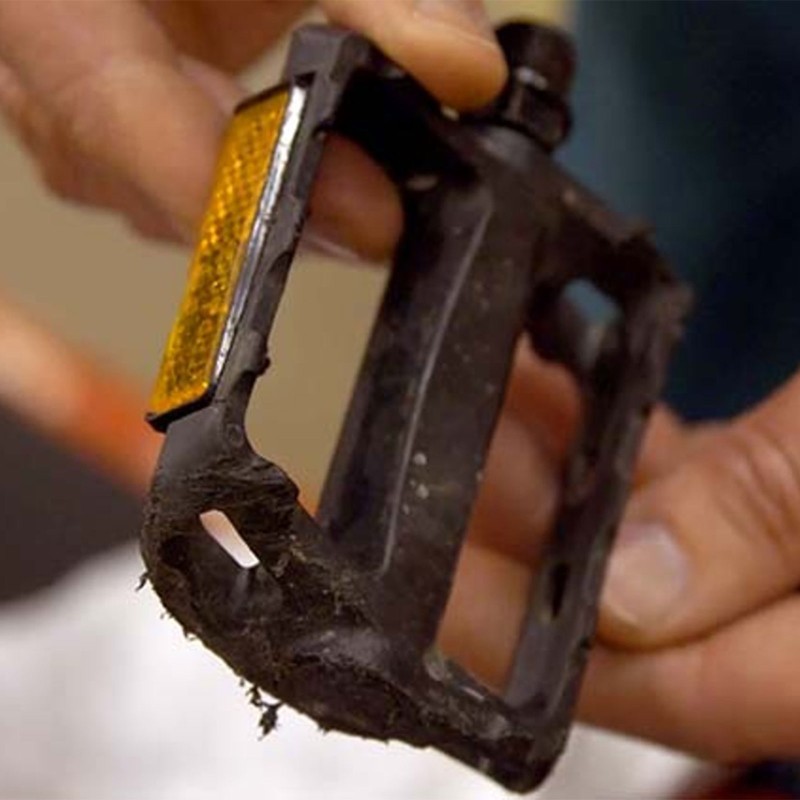
Check Your Points of Contact
Finally, inspect your saddle, handlebars and pedals for wear and tear. Worn grips or bar tape can be very uncomfortable. A worn out saddle can is even worse! Pedals need to provide adequate traction while riding. If they don’t, it’s time to replace them. Updating these items can really make the bike feel new again.